
Thank you all for your prayers and kind words. It means so much to me!

 I will be going out of town this afternoon to be with my daughter, Bethany, who is expecting her first child any second now (hold on til I get there, Beth!)
 Here it is without the pins, and with its matching doily.
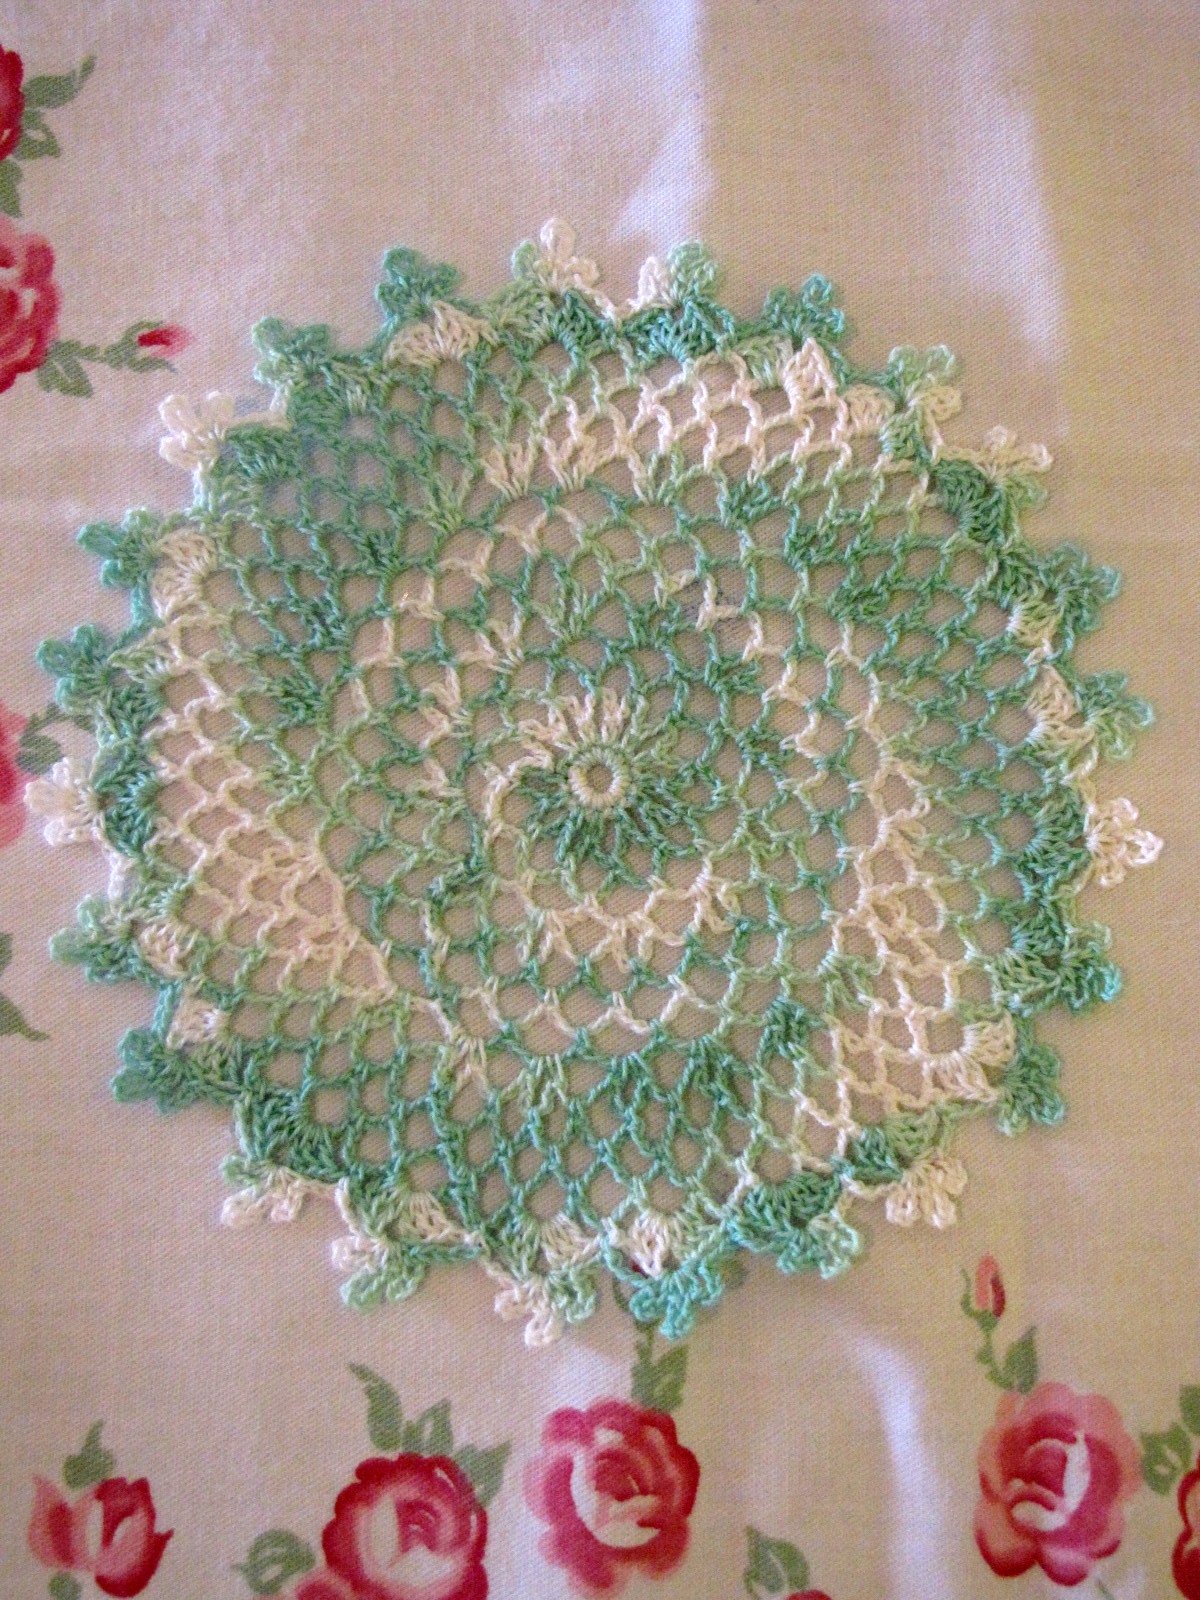 The doily by itself.
 Here is the gift pattern that will come with purchase of the Springtime Tea Cup Bouquet. I am calling it the "Easter Bonnet Sachet."
 Many years ago when I was expecting my first daughter, Robyn, I was given a tiny crocheted jacket at my baby shower. It was worked in a ripple pattern, and I loved it. I have searched for years for a similar pattern, but have never found one exactly like it (I no longer have the little jacket, but oh I how I wish I did!)
 To start a basic Eyelet Foundation, ch 3.
 Then work a dc into the 3rd ch from the hook.
 You have just completed the first ch sp of the Foundation.
 Repeat this process the number of times called for in the pattern.
 Two ch sps completed.
 Five ch sps completed. The pattern for this would read:
 After you have made the number of spaces called for, you will begin to work the stitches of the first row into them. In this example, I have worked a ch-3 which acts as the "turning ch" before I begin to work into the spaces. Not all patterns call for the ch-3.
 To work into the ch sps, insert your hook between the ch-3 and the dc of the space.
 Here I am working the first dc into the first space.
 The first dc completed.
 I am working a pattern of alternating shells and Vsts into the spaces of the Eyelet Foundation.
 The first row of stitches worked into the Eyelet Foundation.
 Another version of the Eyelet Foundation starts with a ch-4.
 Then you work a tr into the 4th ch from the hook. It is the same principle, and works the same as the previous version. It just gives you a slightly longer space.
 Here is the first completed sp of this version. You can see that the opening is a little larger.
 Five completed spaces. The pattern for this would read:
 In this example, before I begin to work the stitches of the first row, I work a sl st into the first space.
 The sl st is completed and I am ready to begin working the stitches of the first row.
 I chain 3 for the first dc of this row. I will be working a shell of (2 dc, ch 2, 2 dc) in each ch sp of this Foundation.
 The first row of shells worked into the Eyelet Foundation.
 The ends of the Eyelet Foundation can also be joined to form a ring (which comes in handy if you are the kind of designer who likes to make doilies with holes in the middle.) In this version, I am working (ch 4, dc in the 4th ch from hook). This gives a little more depth to each space, and creates a more scalloped edge.
 After all the spaces have been made, join with a sl st in the first ch of the first space.
 Sl st into the first ch sp (between the ch-4 and the dc).
 I have worked a shell of (2 dc, ch 2, 2 dc) into each ch sp, and am joining with a sl st into the ch-3 that counts as the first dc of the first shell.
 The completed ring of shells.
 You can also work into the opposite side of the Eyelet Foundation spaces. With the right side of the stitches of the shells facing you, join in the first space. Here I am joining with a sc, and working (sc, ch 2, sc) in each space.
 Continue working around the Foundation.
 When you have worked all the way around, join with a sl st in the first st.
 Both sides worked.
 The unworked side of the Eyelet Foundation is also perfect for adding fringe!