Tuesday, June 29, 2010

Little Star Dish Cloth or Wash Cloth: a Free Crochet Pattern for You

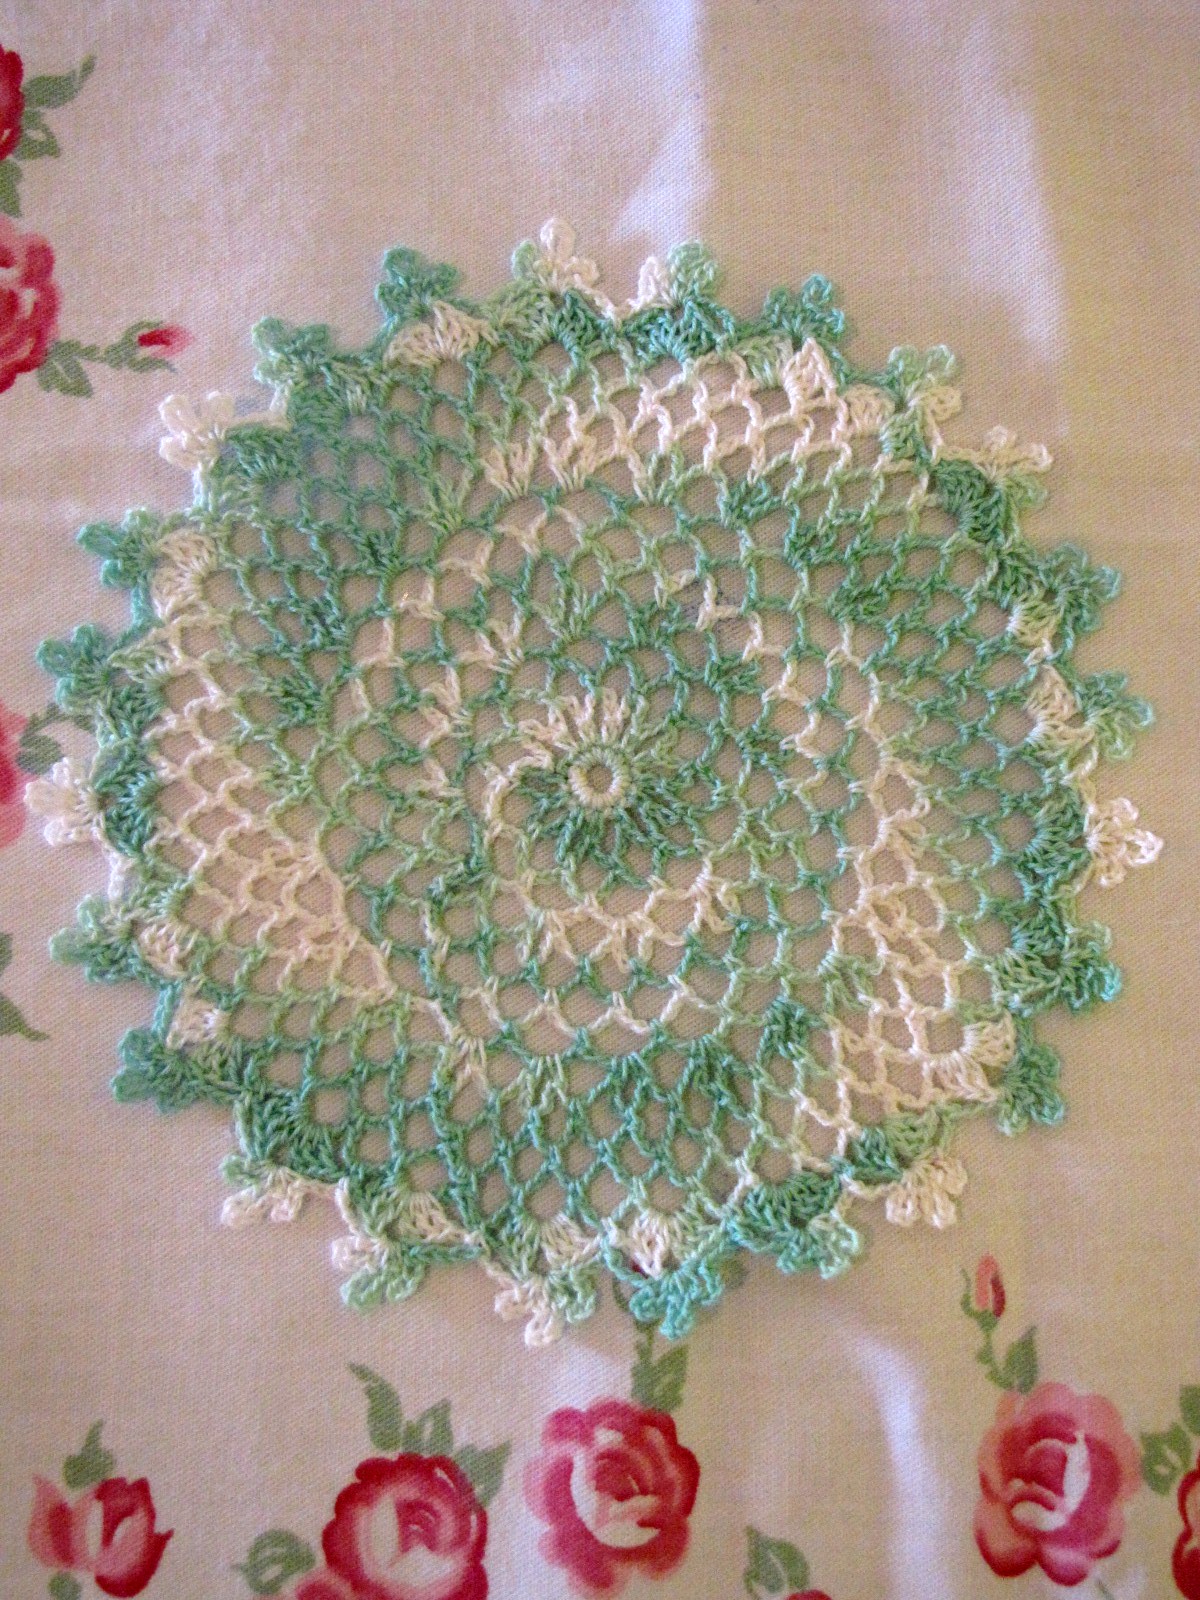
In honor of Independence Day, July 4th, I have designed this sweet little dish cloth, which can also be used as a wash cloth if you prefer.It is quick and easy to make, and looks very patriotic in red, white and blue. But I think it makes a very cute little wash cloth made in other colors, too. I know a little boy who will be getting some new washcloths soon!

Little Star Dish Cloth or Wash Cloth

Size: About 9” across at widest point.
Skill Level: Easy
Materials: Worsted Weight Cotton Yarn (Peaches & Crème from Pisgah Yarn & Dyeing Co., Inc. was used for models- one ball each of #95 Red, #26 Light Blue and #1 White made 3 cloths)
½ oz. Center Color
1 ½ oz. Main Color
1 oz. Edging Color
H (5.00mm) crochet hook
Special Stitches:
For 2 dc cluster: Yo, insert hook in st or ch sp indicated, yo, pull lp through, yo, pull through 2 lps on hook, yo, insert hook in same st or ch sp, yo, pull lp through, yo, pull through 2 lps on hook, yo, pull through all 3 lps on hook
For 3 dc cluster: Yo, insert hook in st or ch sp indicated, yo, pull lp through, yo, pull through 2 lps on hook, (yo, insert hook in same st or ch sp, yo, pull through, yo, pull through 2 lps on hook) 2 times, yo, pull through all 4 lps on hook
Rnd 1: With Center Color, ch 5, sl st in first ch to form ring, ch 2, 2 dc cluster (see Special Stitches) in ring, ch 3, (3 dc cluster-see Special Stitches- in ring, ch 3) 4 times, join with sl st in top of 2-dc cluster. Fasten off. (One 2-dc cluster, four 3-dc clusters, five ch-3 sps made)
Rnd 2: Join Main Color with sl st in any ch-3 sp, (ch 3, 2 dc, ch 2, 3 dc) in same ch-3 sp as joining, (3 dc, ch 2, 3 dc) in each remaining ch-3 sp around, join with sl st in top of ch-3. (Ch-3 counts as first dc; 30 dc, 5 ch-2 sps made)
Rnd 3: Sl st into next (the second) st, ch 3, dc in next st, (3 dc, ch 2, 3 dc) in next ch-2 sp, dc in each of next 2 sts, skip next 2 sts, *dc in each of next 2 sts, (3 dc, ch 2, 3 dc) in next ch-2 sp, dc in each of next 2 sts, skip next 2 sts; repeat from * around, join with sl st in top of ch-3. (50 dc, 5 ch-2 sps made)
Rnd 4: Sl st into next st, ch 3, dc in each of next 3 sts, (3 dc, ch 2, 3 dc) in next ch-2 sp, dc in each of next 4 sts, skip next 2 sts, *dc in each of next 4 sts, (3 dc, ch 2, 3 dc) in next ch-2 sp, dc in each of next 4 sts, skip next 2 sts; repeat from * around, join with sl st in top of ch-3. (70 dc, 5 ch-2 sps made)
Rnd 5: Sl st into next st, ch 3, dc in each of next 5 sts, (3 dc, ch 2, 3 dc) in next ch-2 sp, dc in each of next 6 sts, skip next 2 sts, *dc in each of next 6 sts, (3 dc, ch 2, 3 dc) in next ch-2 sp, dc in each of next 6 sts, skip next 2 sts; repeat from * around, join with sl st in top of ch-3. Fasten off. (90 dc, 5 ch-2 sps made)
Rnd 6: Join Edging Color with sc in any ch-2 sp, 2 more sc in same ch-2 sp as joining, sc in each of next 8 sts, skip next 2 sts, sc in each of next 8 sts, *3 sc in next ch-2 sp, sc in each of next 8 sts, skip next 2 sts, sc in each of next 8 sts; repeat from * around, join with sl st in first sc. Fasten off.

Have a safe and happy 4th of July!!!

Copyright BellaCrochet 2010. All rights reserved. This pattern may not be shared or redistributed in any way.
If you like this pattern, I hope you will check out all of my other free patterns:
BellaCrochetFreePatterns

Saturday, June 26, 2010

Ripples, Ruffles and Roses

I have finally finished writing the patterns for the Ripples, Ruffles and Roses Doilies set. They are not hard, it just seemed like I couldn't get focused in on them the way I needed to. But I think they turned out very pretty; I am really loving these colors right now. Here is the finished Flutter-by Doily. This pattern will be a free gift with the purchase of the Ripples, Ruffles and Roses set.

If all goes well, this set should be available on my new site by the end of July. If you haven't seen it yet, I would love for you to stop by and check it out. http://bellacrochet.com/ And please sign up for the newsletter while you are there; in addition to being notified when I add new products, I have lots of fun things planned for it (including free patterns!)

Friday, June 18, 2010

Crochet Obsession

When it comes to crochet,
I have to confess,
I have been accused
Of being obsessed.
Just one more stitch!
Just one more round!
I just can't seem to put my hook down.
What's that, Dear? You're hungry?
Yes, yes, Dear, I know,
Just, please, let me finish
This one last row.
What did you say, Dear?
You're ready for bed?
My doily's almost finished;
You go on ahead!
What? The house is on fire?
Alright, I'm on my way,
But first let me gather
All my books on crochet.
And my yarn and my hooks
And my WIP's and......
Oh dear!!!!
So, tell me St. Peter,
Are there any crochet groups up here?
Copyright Elizabeth Ann White 2010

Wednesday, June 16, 2010

Flutterbys

It seems like I just can't get enough butterflies and roses lately. I have just finished all the crochet work on this doily, which I am calling "Flutterbys" which is what my daughter called butterflies when she was small. The bright colors of lavender and pink make me think of a little girl, so I thought the name was appropriate. Today I will block it and glue it together, then tomorrow I will start working on the pattern (ugh!) It will be the gift doily that will come with a set of doilies I am making called "Ripples, Ruffles and Roses" which should be out around the end of July.
Hope you all are having a wonderful summer so far!

Friday, May 28, 2010

Announcing BellaCrochet.com

I am thrilled beyond words to announce that my new site, http://www.bellacrochet.com/ is now open!!!!
All three of my newest designs are available there for instant download (no more waiting for me to email them to you!) The Springtime Tea Cup Bouquet Time For Tea SetAngel of Love Doily
All my other designs are available there as well.
The site has been in the works for several months now, and I am very pleased with how it has turned out. I want to give special thanks to my web designer, Joanne Gonzalez, who has worked tirelessly to get all the details just right!
Having my own website has been a dream of mine for years, and I cannot tell you how happy I am that it has become a reality! I hope you will drop by and check it out, and please let me know what you think. You can reach me at: ann@bellacrochet.com
I hope you will like it!

Wednesday, May 19, 2010

Darling Little Lilly

I would like you to meet my newest granddaughter, Lilly. She and her mama are doing fine. Her daddy, my son Sam, is walking on clouds.
We are a very happy and blessed family!

Monday, May 17, 2010

Sunshine and Blue Skies, and Another Visit from the Stork!

Here is the third doily of the Ripples, Ruffles, and Roses set. It is called Sunshine and Blue Skies. I love the colors, which are Aqua and Golden Yellow from Aunt Lydia.
I will be leaving shortly to be with my son Sammy and his wife Tonya as they welcome their new arrival today. I am such a lucky Grandmama, we just got little William last month, and now I get another sweet grand-baby to spoil!
Please keep our family in your thoughts and prayers, and I will let you know how it goes when I get home.
Love,
Ann

Friday, May 07, 2010

Happy Mother's Day!

A filet crochet pillow top I designed for Annie's Attic back in the 90's.

Mother's Day has been hard for me since I lost my Mamma 7 years ago. For the first several years after she died, I didn't even want to think about Mother's Day.
But now, I focus on happy memories, and give thanks that I have my wonderful children and grandchildren to help me celebrate.
And I am also blessed to have my step mom (I don't even like to use that phrase), Sheila, who is so special to me. Since she married my dad over 25 years ago, she has always been there for me, through good times and bad, always loving, kind, and supportive. I am so grateful to have her in my life! I love you Sheila, Happy Mother's Day!
And Happy Mother's Day to you all!

Monday, May 03, 2010

My Garden

The weather has been beautiful lately, and I have been busy planting my garden; but these days, I stick to growing things in containers on the porch.

Here is my strawberry patch; the plastic snake is to scare away the mockingbirds (at least I hope it will!) I kind of went overboard on the strawberries this year; I also planted one of those upside-down hanging planters with strawberries.
And since I do not have my beloved rose garden anymore, I have to settle for my rose scented geraniums; they smell wonderful, but they just are not the same. Maybe this fall I should go ahead and plant a rose garden here. I hope you are enjoying a beautiful spring!

Sunday, May 02, 2010

Patterns in other Languages

I have been thinking of having some of my patterns translated into other languages. Is this something any of you would be interested in? If so, what languages would you prefer?
I wish I had the ability to have them charted out into symbol crochet, but I do not have the skills, knowledge or software to do this. Do any of you have any ideas?
Please vote on the poll, or leave me a comment if you have any input. You can also write me at:
bellacrochet.info@yahoo.com
Thank you for any help you can give!

Saturday, April 24, 2010

Sweet William

Well, he is here! William Christian was born last Wednesday afternoon, and although Bethany had a bit of trouble, she says he was well worth it. She and William are home now, and doing well.
Thank you all for your prayers and kind words. It means so much to me!

Tuesday, April 20, 2010

My Baby is having a Baby!

I will be going out of town this afternoon to be with my daughter, Bethany, who is expecting her first child any second now (hold on til I get there, Beth!)
I will let you know how it goes when I get back. Please keep her in your thoughts and prayers.
Love,
Ann

Saturday, April 17, 2010

Springtime Tea Cup Bouquet

I am working on the patterns for the Springtime Tea Cup Bouquet this weekend. Here it is without the pins, and with its matching doily.
The doily by itself.

Here is the gift pattern that will come with purchase of the Springtime Tea Cup Bouquet. I am calling it the "Easter Bonnet Sachet."
I have received several emails asking me when the Tea Pot Set and the Angel of Love doily patterns will be available. I will be releasing them soon, but before I do, I have a big announcement that I will be making about them (and all of my patterns) soon. I hope you will be pleased; I am so excited about what is going on! I will tell you more as soon as I can.

Sunday, April 11, 2010

Lilly's Jacket

Many years ago when I was expecting my first daughter, Robyn, I was given a tiny crocheted jacket at my baby shower. It was worked in a ripple pattern, and I loved it. I have searched for years for a similar pattern, but have never found one exactly like it (I no longer have the little jacket, but oh I how I wish I did!)
Anyway, I wanted to make a jacket for my new granddaughter, Lilly, who is due to make her grand arrival next month. I went looking for ideas online, and I saw a similar jacket on Ravelry. The person who had made it said she had used a vintage pattern that was published in 1950 by Doreen Knitting Books. The book was called "Baby Gems, Vol. 100" and the designer was Nell Armstrong. The pattern is available for free online here:
http://www.freevintagecrochet.com/baby/no106-baby-set-pattern.html
I printed out the pattern, which calls for 3 ply baby yarn. I only had some baby sport weight yarn, but figured I could adapt the pattern for the larger yarn. I figured out how many stitches were in the first row, and adapted it by starting with an Eyelet Foundation (so much easier for me!)
But I could not believe the difference in size using the sport weight yarn made; plus, I tend to work loosely, so that probably made it even larger.
Anyway, I thought I could probably just omit a few rows to get a jacket that would fit a newborn, but I actually ended up making only about half of the rows called for. If I had followed the pattern as written, it would probably have fit me instead of a newborn! Of course, there is nothing wrong with the pattern itself, it is just me using the wrong yarn and not following directions!
Anyway, it turned out very sweet, and I can't wait to see Lilly in it!

Friday, April 02, 2010

How to Make a Crocheted Eyelet Foundation: A Tutorial

If you have ever made one of my designs, most likely you have come across the Eyelet Foundation. It is my favorite way to start a project, and I use it whenever possible instead of a traditional starting chain. It is so much quicker and easier!
But it is also the number one thing I get questions about; almost every week I get an email or letter saying "This pattern is WRONG, no where does it tell you how many chains to make to start the pattern!" Usually, after I write them back explaining the Eyelet Foundation, they love it and send me another email, saying how wonderful I am to have invented such a clever technique. But, I want to make it clear, I did not invent this technique! It has been around forever, I just seem to use it more than most designers.
The basic idea of the Eyelet Foundation is that you make a row of chain spaces into which you work the stitches of the first row. Sometimes, it is actually counted as the first row. To start a basic Eyelet Foundation, ch 3.
Then work a dc into the 3rd ch from the hook.
You have just completed the first ch sp of the Foundation.
Repeat this process the number of times called for in the pattern.
Two ch sps completed.
Five ch sps completed. The pattern for this would read:
(Ch 3, dc in 3rd ch from hook) 5 times.
After you have made the number of spaces called for, you will begin to work the stitches of the first row into them. In this example, I have worked a ch-3 which acts as the "turning ch" before I begin to work into the spaces. Not all patterns call for the ch-3.
To work into the ch sps, insert your hook between the ch-3 and the dc of the space.
Here I am working the first dc into the first space.
The first dc completed.
I am working a pattern of alternating shells and Vsts into the spaces of the Eyelet Foundation.
The first row of stitches worked into the Eyelet Foundation.
Another version of the Eyelet Foundation starts with a ch-4.
Then you work a tr into the 4th ch from the hook. It is the same principle, and works the same as the previous version. It just gives you a slightly longer space.
Here is the first completed sp of this version. You can see that the opening is a little larger.
Five completed spaces. The pattern for this would read:
(Ch 4, tr in 4th ch from hook) 5 times.
In this example, before I begin to work the stitches of the first row, I work a sl st into the first space.
The sl st is completed and I am ready to begin working the stitches of the first row.
I chain 3 for the first dc of this row. I will be working a shell of (2 dc, ch 2, 2 dc) in each ch sp of this Foundation.
The first row of shells worked into the Eyelet Foundation.
The ends of the Eyelet Foundation can also be joined to form a ring (which comes in handy if you are the kind of designer who likes to make doilies with holes in the middle.) In this version, I am working (ch 4, dc in the 4th ch from hook). This gives a little more depth to each space, and creates a more scalloped edge.
After all the spaces have been made, join with a sl st in the first ch of the first space.
Sl st into the first ch sp (between the ch-4 and the dc).
I have worked a shell of (2 dc, ch 2, 2 dc) into each ch sp, and am joining with a sl st into the ch-3 that counts as the first dc of the first shell.
The completed ring of shells.
You can also work into the opposite side of the Eyelet Foundation spaces. With the right side of the stitches of the shells facing you, join in the first space. Here I am joining with a sc, and working (sc, ch 2, sc) in each space.

Continue working around the Foundation.

When you have worked all the way around, join with a sl st in the first st.

Both sides worked.
The unworked side of the Eyelet Foundation is also perfect for adding fringe!
Well, there you have it, more than you ever wanted to know about the Eyelet Foundation. Next week, I will post a pattern that combines it with my current favorite stitch, the 'sc shell', so you can try it out for yourself.
Copyright BellaCrochet 2010. All rights reserved.